
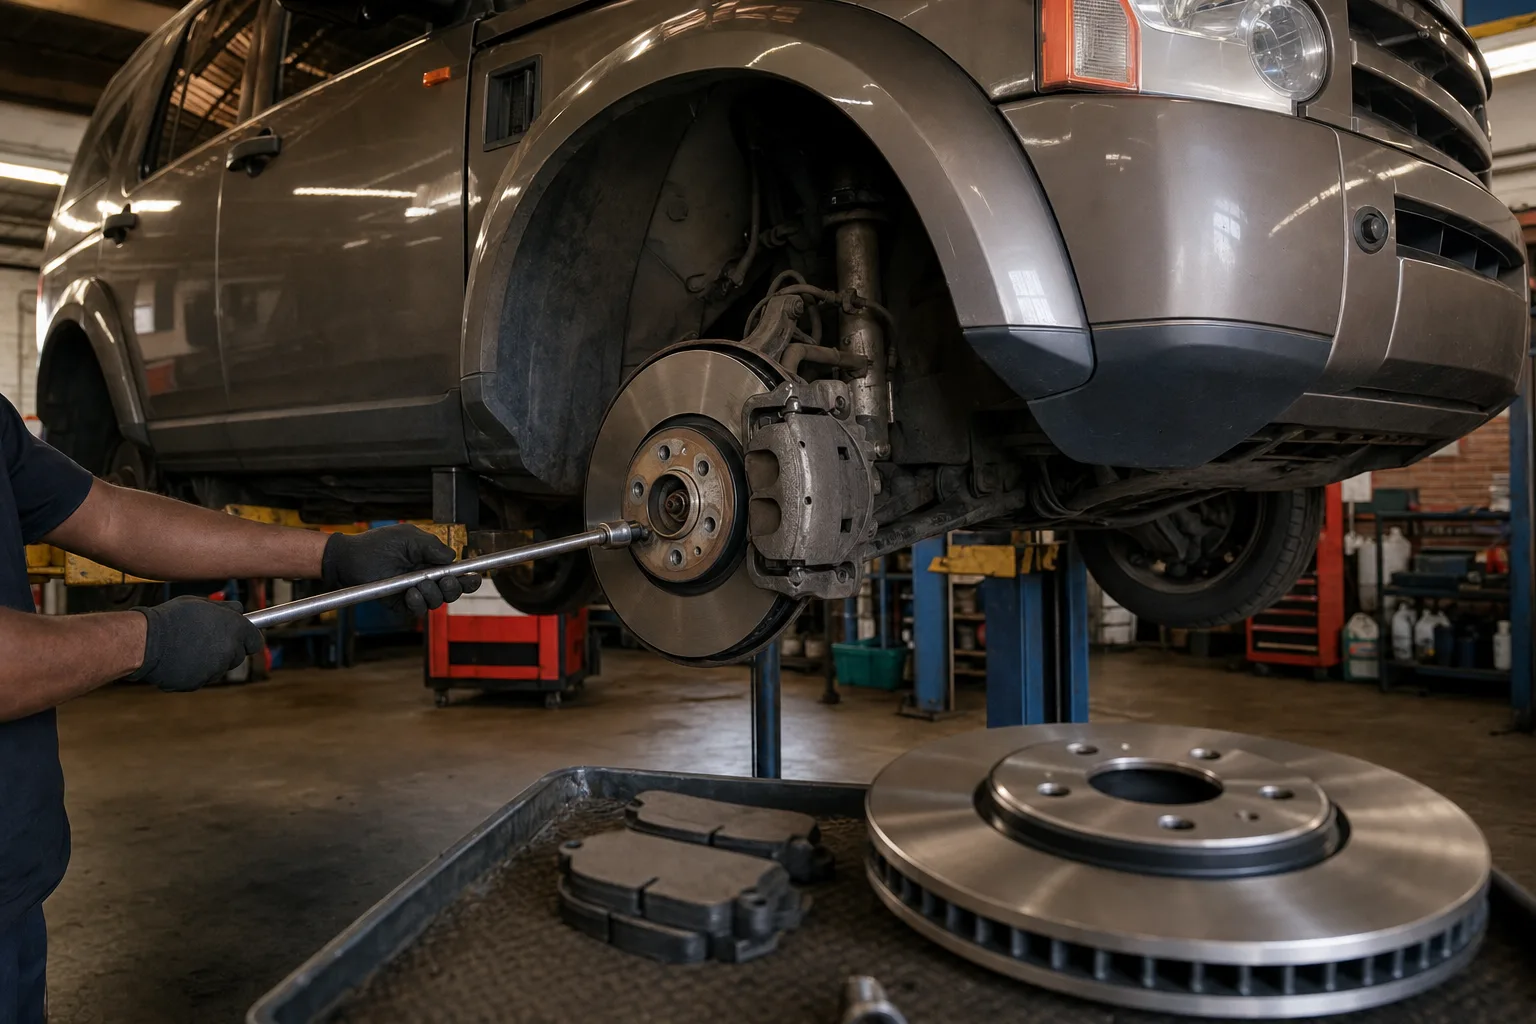

Replacing the brake discs (rotors) on a Land Rover is a job most competent DIY owners can do at home in an afternoon, and doing it yourself saves a fair chunk on labour. The golden rule up front: always replace the brake pads at the same time, and always do both wheels on the same axle together. A fresh disc against a worn pad glazes the new surface and ruins your braking.
Budget roughly R900 to R2,200 for a pair of quality used or reconditioned front discs, plus a set of pads, and set aside two to three hours. Below is how the job is done, the Land-Rover-specific catches, and what the parts cost in South Africa.
- Always fit new pads with new discs, and always do both sides of an axle together — mixing old and new causes uneven braking and glazing.
- On most Land Rovers the caliper carrier (bracket) must come off to free the disc — two large bolts, usually 18mm or a Torx, torqued tight and often seized.
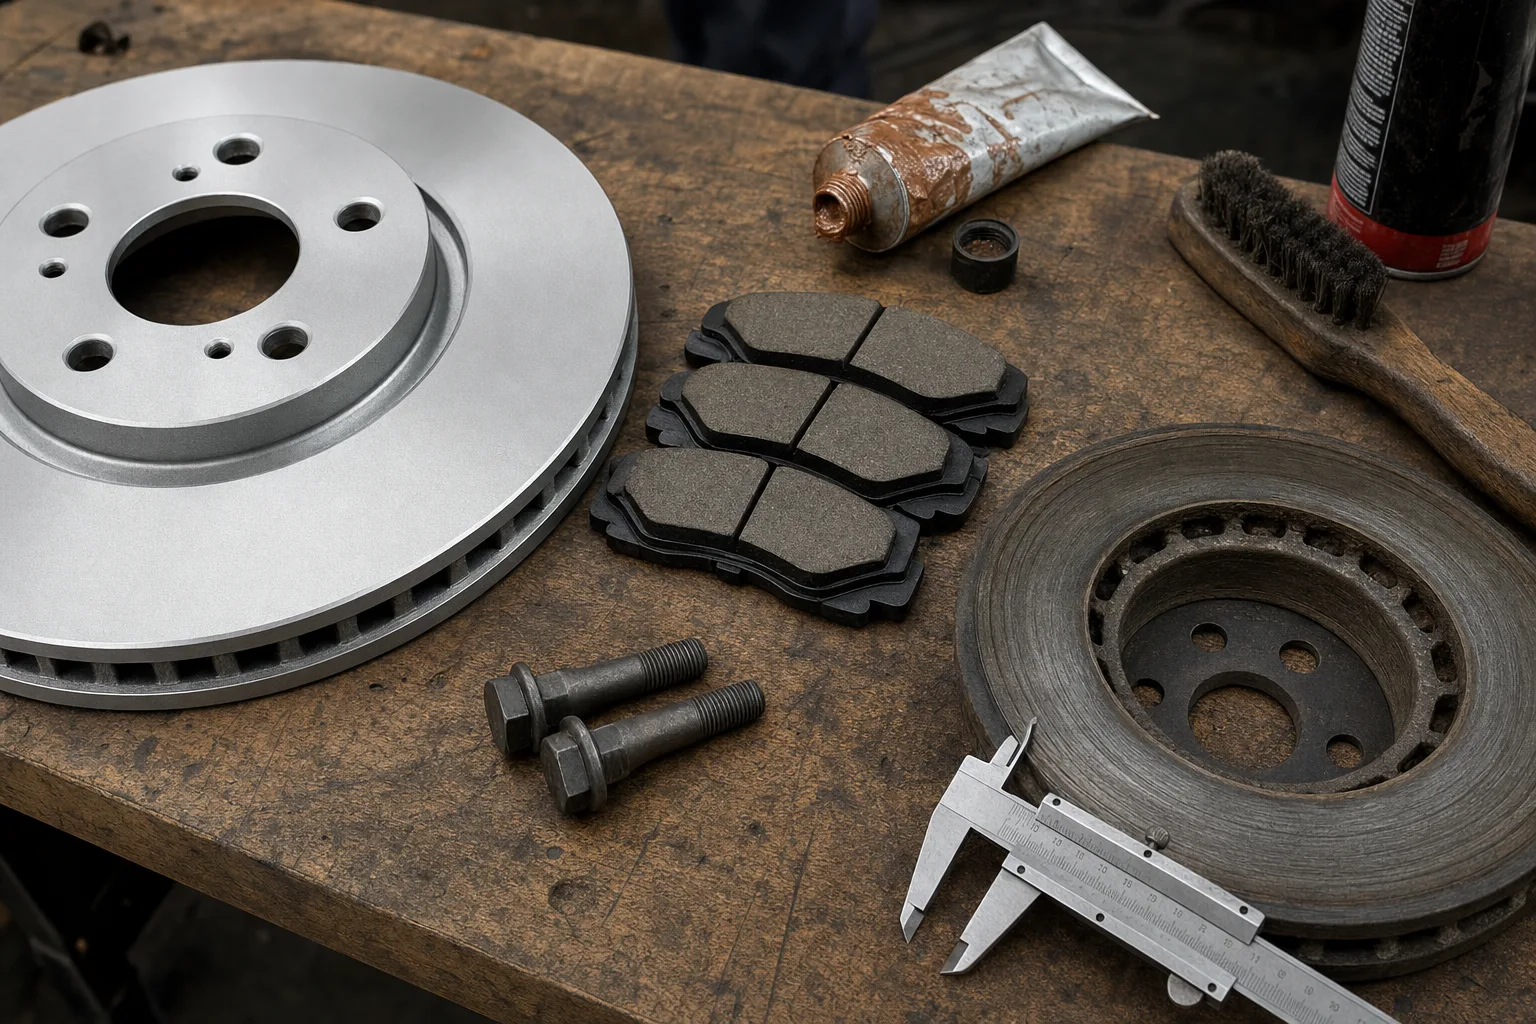
- Check the disc against the minimum thickness figure stamped on the disc edge or hub — below it, the disc is scrap and cannot be skimmed.
- Larger Discovery and Range Rover models use big vented discs and heavy calipers — support the caliper, never let it hang on the flexi hose.
- Quality used or reconditioned discs and pads cost a fraction of dealer prices, and a set is easy to source here in SA.
What you'll need
Brake work is not the place to improvise, so gather everything before you crack a wheel nut. You'll need a trolley jack and two axle stands (never work under a car on a jack alone), the correct wheel-nut socket, and a breaker bar for the caliper bolts, which are torqued hard on a Land Rover.
A set of good sockets and Torx bits covers most Discovery, Defender and Range Rover calipers — many use E-Torx or a large hex on the carrier bolts.
Add a wire brush, a G-clamp or piston-rewind tool to push the caliper piston back, copper grease, brake cleaner, and a torque wrench for the final tighten.
Parts-wise: a pair of discs, a set of pads for that axle, and new caliper-carrier bolts if the old ones are stretched or corroded. A tin of anti-seize and a bit of patience with rusted bolts round it off. If your Land Rover has a wear sensor, order a new one too.
Land Rover Discovery Brake Discs & Pads
Front and rear vented discs plus matching pad sets for the Discovery range — the parts you need to do the job once, properly. Send us your VIN and we'll match the exact size and caliper type.
Get a QuoteStep-by-step: replacing the discs
Work on one wheel at a time, keep the removed bolts in order, and take your time with anything seized. Here is the sequence we follow on a typical Discovery or Range Rover front axle.
- Loosen and lift. Crack the wheel nuts while the car is on the ground, then jack the corner, drop it onto an axle stand, and remove the wheel. Chock the opposite wheels.
- Free the caliper. Undo the two caliper slider/guide bolts and lift the caliper body off the disc. Hang it from the spring or suspension arm with a cable tie or bungee — never let it dangle on the brake hose.
- Remove the pads. Slide the old pads out of the carrier and note their orientation and any wear-sensor wiring.
- Remove the caliper carrier. Undo the two large carrier (bracket) bolts — these are the tight ones. A breaker bar and a well-fitting socket or Torx bit are essential; heat or penetrating oil helps a seized bolt.
- Remove the disc. With the carrier off, the disc pulls forward off the hub. If it's rusted on, a couple of taps with a soft mallet or a bolt threaded into the disc's release hole will shift it.
- Clean and measure. Wire-brush the hub face until it's clean and flat, and check the old disc against the minimum thickness figure before you bin it.
- Fit the new disc. Wipe the protective oil off the new disc with brake cleaner, seat it flat on the hub, and hold it with a wheel nut if needed.
- Rebuild. Refit the carrier with new bolts to the correct torque, push the caliper piston back with a G-clamp, fit the new pads, and bolt the caliper back on. Refit the wheel.
- Bed them in. Before driving, pump the brake pedal until it's firm. Then bed the new discs and pads in gently over the first few kilometres.
Minimum thickness and why it matters
Every brake disc has a minimum thickness stamped into it, usually on the outer edge or the top hat, marked as "MIN TH" followed by a figure in millimetres. That number is not a suggestion. As pads wear they eat into the disc, and a disc that has dropped below its minimum can no longer shed heat properly or take a re-machine — it must be replaced, not skimmed.
On heavier Land Rovers like the full-size Discovery and Range Rover, the front discs run hot when towing or descending long passes, so a marginal disc that fades under heat is genuinely dangerous. Measure across the friction face with a vernier or a proper disc micrometre, not the lip, because the worn lip reads thicker than the actual braking surface. If either disc on an axle is at or near minimum, replace the pair.
While you have the wheels off, it's also worth eyeing the suspension and steering components behind the disc — worn wheel bearings and tired bushes show up the moment you're spinning a hub by hand.
Why you must always do the pads too
This is a common mistake from home mechanics: fitting shiny new discs against half-worn pads to save a few rand. It doesn't work. A used pad has bedded to the exact contour of the old, worn disc, so on a new flat disc it only contacts on a fraction of its face.
That gives you a soft pedal, screeching, uneven wear and, worst of all, a glazed disc within a few hundred kilometres. New pads and new discs bed to each other from scratch and give you the full, even braking surface you paid for. The same logic applies across the axle — a fresh disc on the left and a worn one on the right pulls the car under braking.
If you're going deeper into the system and the pedal feels spongy afterwards, follow our guide to bleeding the brake lines properly so you get a firm pedal before the car goes back on the road. For the pad side of the job on its own, our brake pad replacement walkthrough covers pad-only changes in detail.
How much does a brake disc job cost in SA?
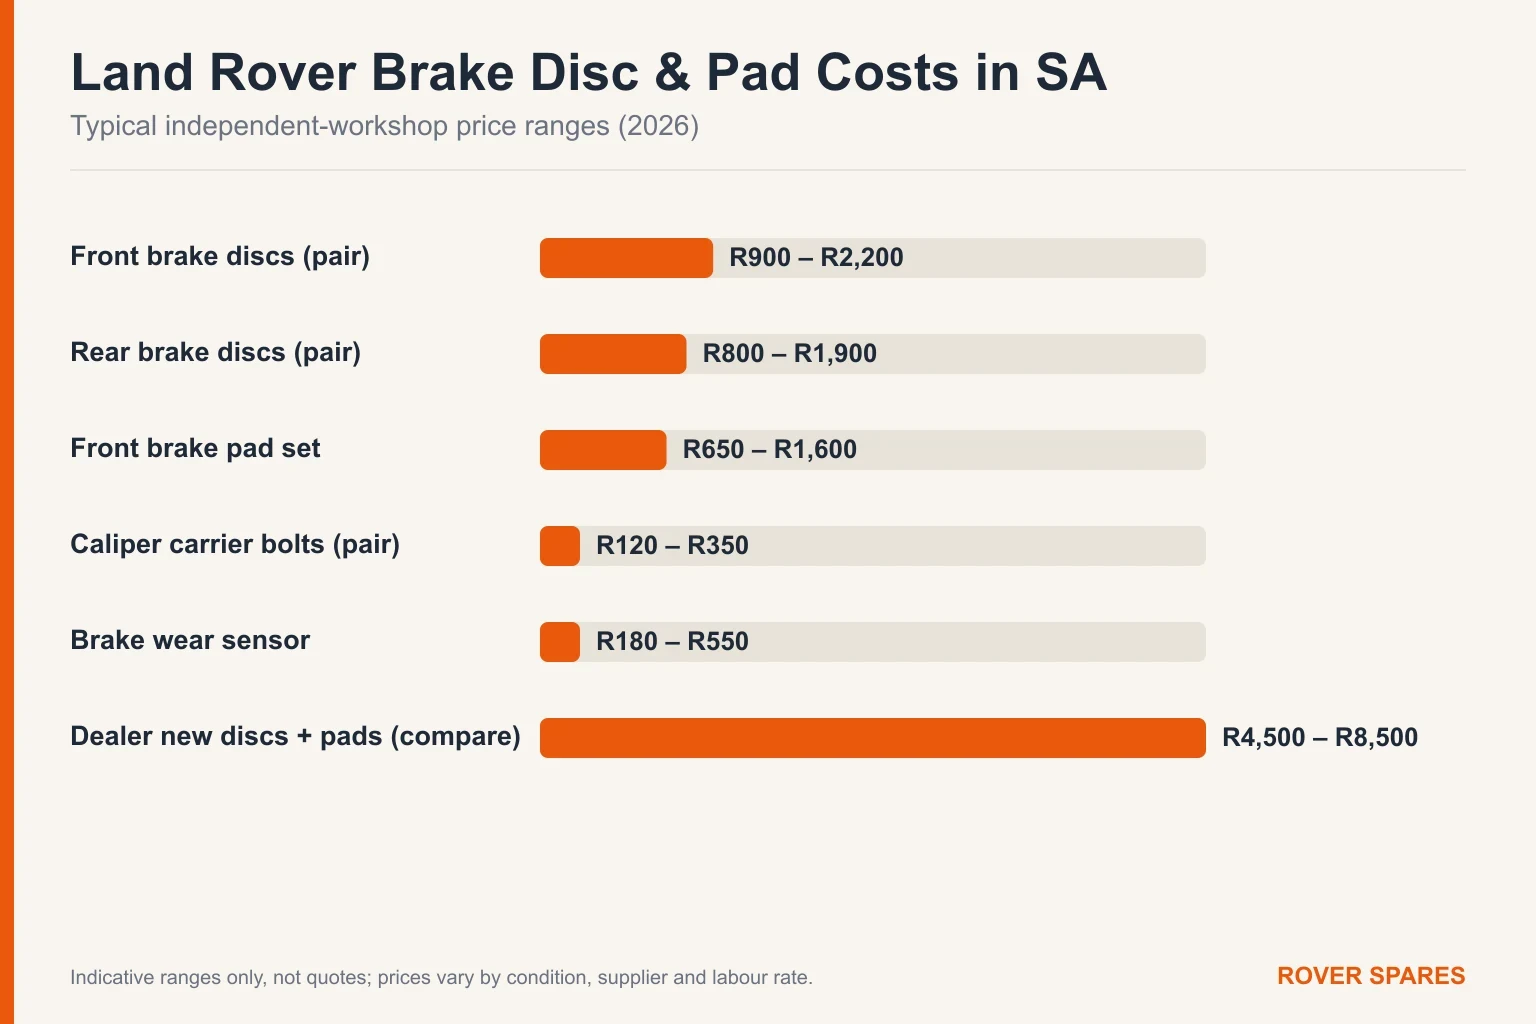
Here's a realistic guide to what a front brake disc and pad job runs using quality used or reconditioned parts at an independent workshop — not dealer pricing. Actual figures depend on your exact Land Rover model, disc size and labour rates; these are indicative ranges only, not quotes.
| Part | Typical price (used / recon) | Notes |
|---|---|---|
| Front brake discs (pair) | R900 – R2,200 | Vented, per axle |
| Rear brake discs (pair) | R800 – R1,900 | Often solid, per axle |
| Front brake pad set | R650 – R1,600 | Always do with discs |
| Caliper carrier bolts (pair) | R120 – R350 | Renew if stretched |
| Brake wear sensor | R180 – R550 | If fitted |
| Dealer new discs + pads (compare) | R4,500 – R8,500 | Front axle, parts only |
Range Rover & Sport Big-Brake Discs
The full-size Range Rover and Sport run large vented front discs with heavy calipers — we stock the correct sizes so you don't fit an undersized rotor. Give us your model year and we'll confirm the fitment.
Get a QuoteTips and warnings from the workshop
A few Land-Rover-specific things save you grief. The caliper carrier bolts are the single biggest hold-up on a Discovery or Defender — they're torqued to well over 100Nm and love to seize, so use a six-point socket or the correct Torx bit and a long breaker bar, not a ratchet.
When you push the caliper piston back, open the bleed nipple or the brake-fluid reservoir can overflow as fluid backs up. Never let the caliper hang on its flexi hose; the hose will perish internally and fail later.
And when you fit the new disc, a light smear of copper grease on the hub face (not the friction surface) stops the disc rusting solid for the next owner. Torque everything properly and always test the pedal before you move the car — the first press after fitting pads is often long until they take up.
Before you buy parts
Judder through the pedal gets called a warped disc far more often than it actually is one. Uneven pad deposits, a sticking slider pin, or rust built up under the disc face will all produce the same shudder at speed. A seized carrier bolt is a heat-and-patience job, not a reason to buy calipers. Measure thickness and check runout before ordering anything. When discs do need doing, do them in axle pairs with fresh pads, and clean the hub face back to bare metal first — a rusty hub face is what makes a brand-new disc run out of true.
Need Land Rover brake parts? Get a quote.
We supply used and reconditioned Land Rover brake discs, pads, calipers and sensors for the whole Land Rover Discovery range and every other model, with nationwide delivery. Send us your VIN and the parts you need.
Frequently asked questions
Do I have to replace brake pads when I change the discs?
Yes. Old pads have bedded to the worn contour of the old disc, so on a new flat disc they only contact on part of their face. That means a soft pedal, noise, uneven wear and a glazed disc within a few hundred kilometres. New pads and new discs bed to each other from scratch, so always fit them together. It's cheap insurance and the whole point of doing the job.
How do I know if my Land Rover discs need replacing?
Look for a deep lip at the outer edge, scoring or grooves on the face, a pulsing pedal under braking, or a squeal from a wear sensor. The definitive check is thickness: measure across the friction face and compare it to the minimum figure stamped on the disc. At or below that number, the disc is scrap and must be replaced, not skimmed. If one disc on an axle is worn out, replace the pair.
Can Land Rover brake discs be skimmed instead of replaced?
Only if there's enough meat left above the minimum thickness, and honestly it's rarely worth it. Skimming removes material and brings the disc closer to its limit, so it wears out again sooner. On heavy Land Rovers that run their brakes hot, we almost always advise fitting fresh discs rather than machining tired ones, especially when good used and reconditioned discs are so affordable here.
Do I need to bleed the brakes after changing discs and pads?
Not usually. If you only remove the caliper and don't open the hydraulic system, the fluid stays sealed and no bleeding is needed — just pump the pedal firm before driving. If the pedal feels spongy, or you opened a bleed nipple or fluid line, bleed the system properly to remove any air. A firm pedal is non-negotiable before the car goes back on the road.
How long does a front disc and pad job take on a Discovery?
For a confident DIY owner, budget two to three hours for a front axle, more if the caliper carrier bolts are seized. The carrier bolts are the usual time-sink on a Land Rover, so allow extra for penetrating oil and heat. A workshop will turn it around faster, but doing it yourself is a realistic weekend job with the right tools and a torque wrench.
Are aftermarket or used Land Rover brake discs any good?
Quality used and reconditioned discs from a specialist that measures and tests its stock are a sound, safe choice and cost a fraction of dealer parts. The key is fitment — the correct diameter, thickness and caliper type for your exact model — and pairing them with a fresh pad set. Give us your VIN and we'll match the right disc so you're not guessing on a safety-critical part.
Sources
- Haynes — how to change brake discs and pads (workshop tutorial): haynes.com
- Honest John — Land Rover Discovery owner-reported running costs and known points: honestjohn.co.uk